
August 2, 2018
Rainbow Blender: August 2018
Hooray! I finished this quilt in August of 2018.
Design
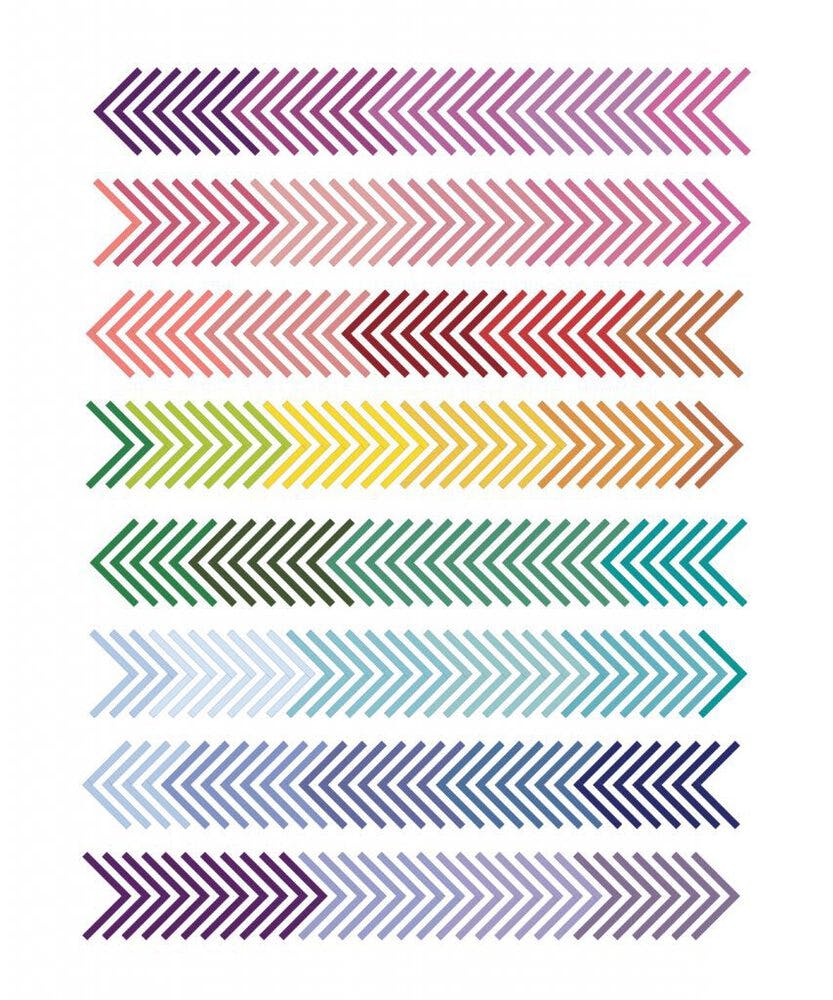
I created the original design in Photoshop with no color palette. Then, I imported the design into my own quilt coloring tool as a private design, to test out colors. I added a basic rainbow palette to it at the time, but after that, I began to look for the right set of fabrics to use with it. The image you see to the left is what I created in QuiltFill, but once I saw Alison Glass' Kaleidoscope line, I thought it would be a great fit for the rainbow ombre and the fabric on it's own is beautiful.
Once I got my hands on a fat quarter stack of the Kaleidoscope collection, I selected 32 colors from the set of 40. The 8 excluded swatches are great – the set included a nice plush white, several blue/gray chambrays, and a few pinks/reds (the collection has a lot of pinks/reds!). Like my June quilt, I had a rough idea on how I would blend colors, knowing that I wanted to blend them more than in my design, but I didn't have it all figured out at that time.
Piecing
I strip pieced first, sewing a strip of solid color to Kona white, and then cut perpendicularly to that seam in 1" strips. All the strips are cut at 1" and finish at 1/2". You can check out the Instagram photos below to see the process. Once I had 1" strips, I blended the colors between color transitions, selecting 32 colored strips for each row.
Quilting
I made my quilt sandwich with Warm & Natural batting and a light aqua free spirit voile on the back. I based with safety pins on my kitchen table, like usual! I machine quilted on my Juki with a walking foot using Aurifil 50wt white thread. My straight line quilting adds to the pop of colored strips throughout. I did *not* block this quilt, because it laid quite flat after all the quilting, hooray! Normally, I have to block :)
Binding
Finally, I finished adding Kona white binding. I use my machine to attach the binding first, then I hand stitch the binding on the back using silk thread and Clover #10 applique needles. It's always one of my favorite parts of the project to finish with hand binding (even though I'm very excited to see the finished product)!
Happy Sewing
While some parts of this quilt were a little tedious and repetitive :), I am so happy with how it turned out. It's so bright, colorful, but speaks to my geometric/linear aesthetic. I hope you enjoyed watching the progress, as that's a big part of what I enjoy, too!